Apparel pre-production is a complicated puzzle. Each piece is essential. Lose one piece, and production cannot come together as a harmonious whole.
There is one piece that is often lost along the way: fabric.
You say: “Wait. Isn’t fabric the starting place for everything? How can this piece be lost?” Let me explain.
Dreaming of That Perfect Fabric
In my work as a product developer for small apparel brands, I daily experience the push and pull of a dream fabric the designer falls in love with, tries to source for a price they can afford, and the sad realization that this dream fabrication is out of reach. They then have to re-source a new fabric that works for their price point, budget, and design.
Often during the re-sourcing process, I am moving forward into samples for their product, which means I am cutting available fabrics to test their patterns. I can use whatever width of fabric is available for sampling, until we reach jump, or size set samples. Why is this an issue at this step? Can’t I just continue using available fabrics? Well…no.
Size set samples are designed to test your markers. Let’s talk about markers. What the heck are they?
Complicated Puzzle: the Garment Marker
A marker is an optimized layout of every single pattern piece for every single size in a single style.
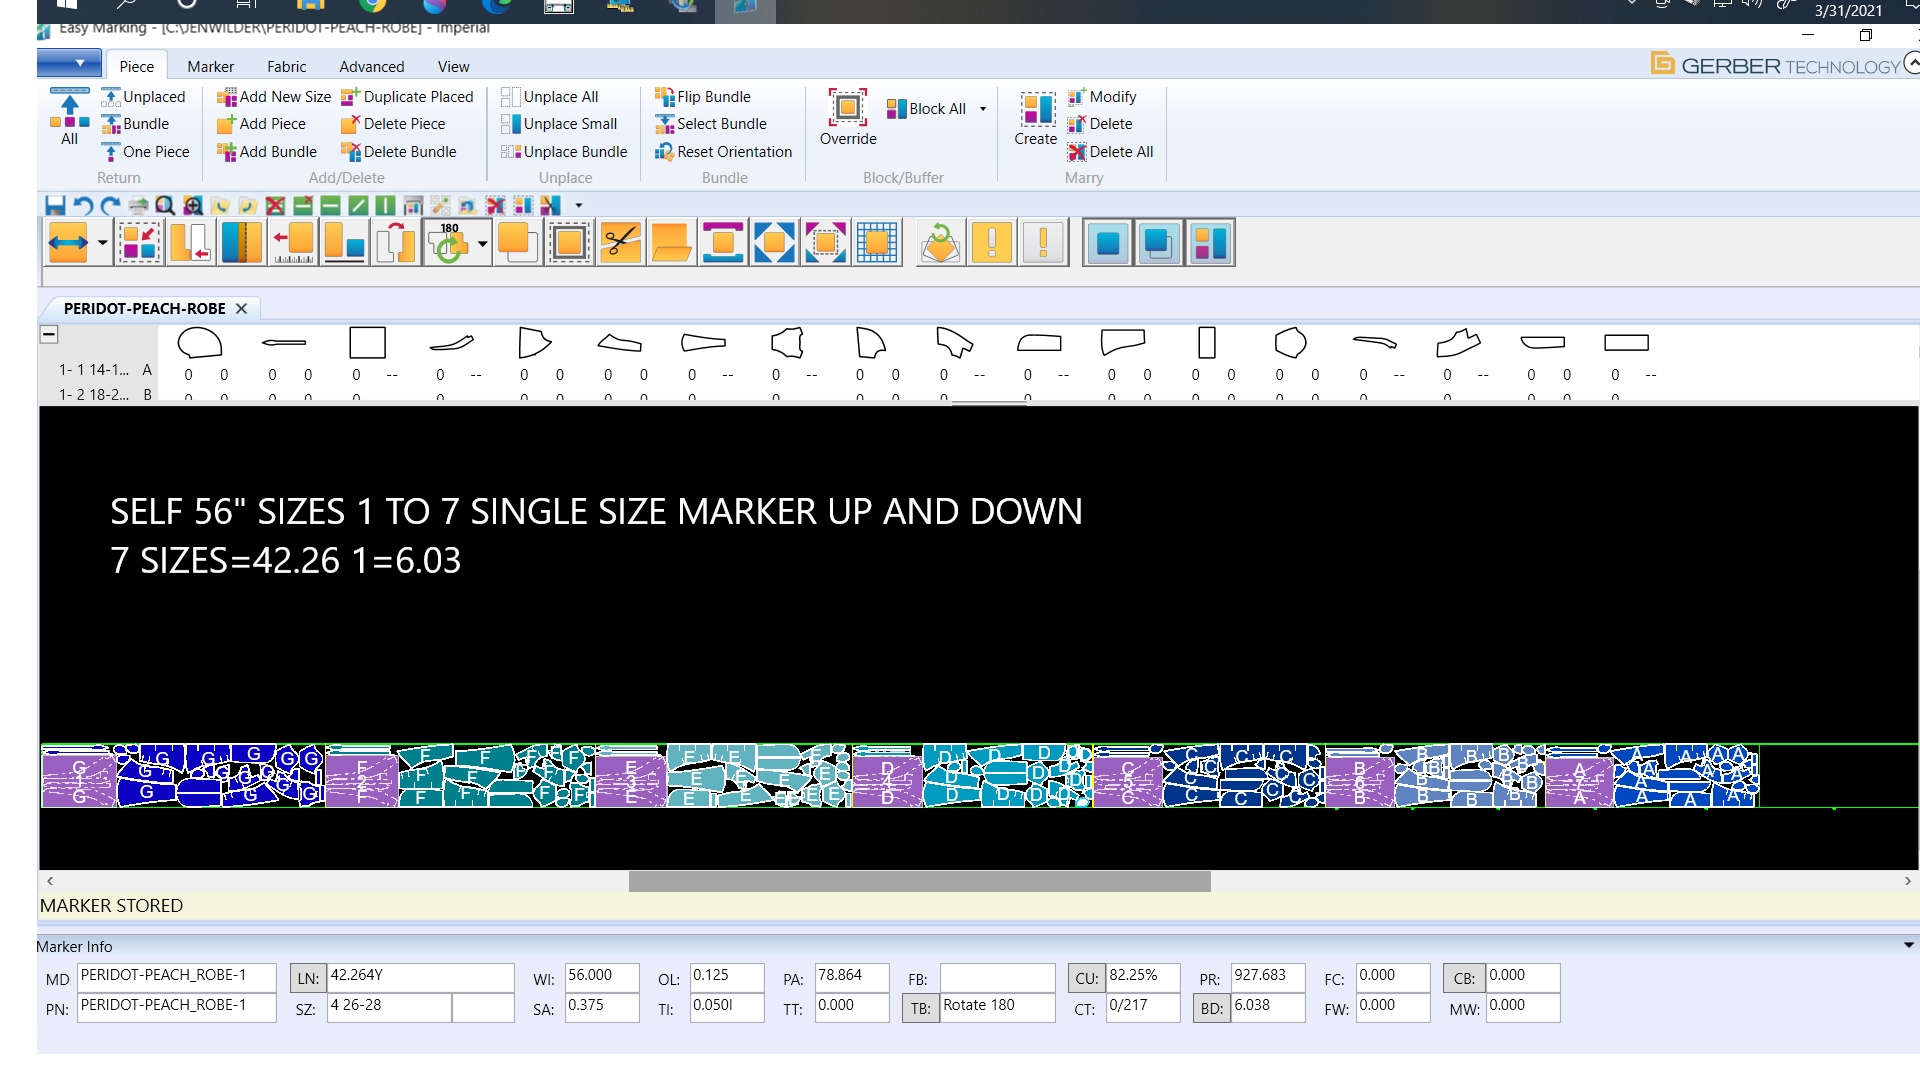
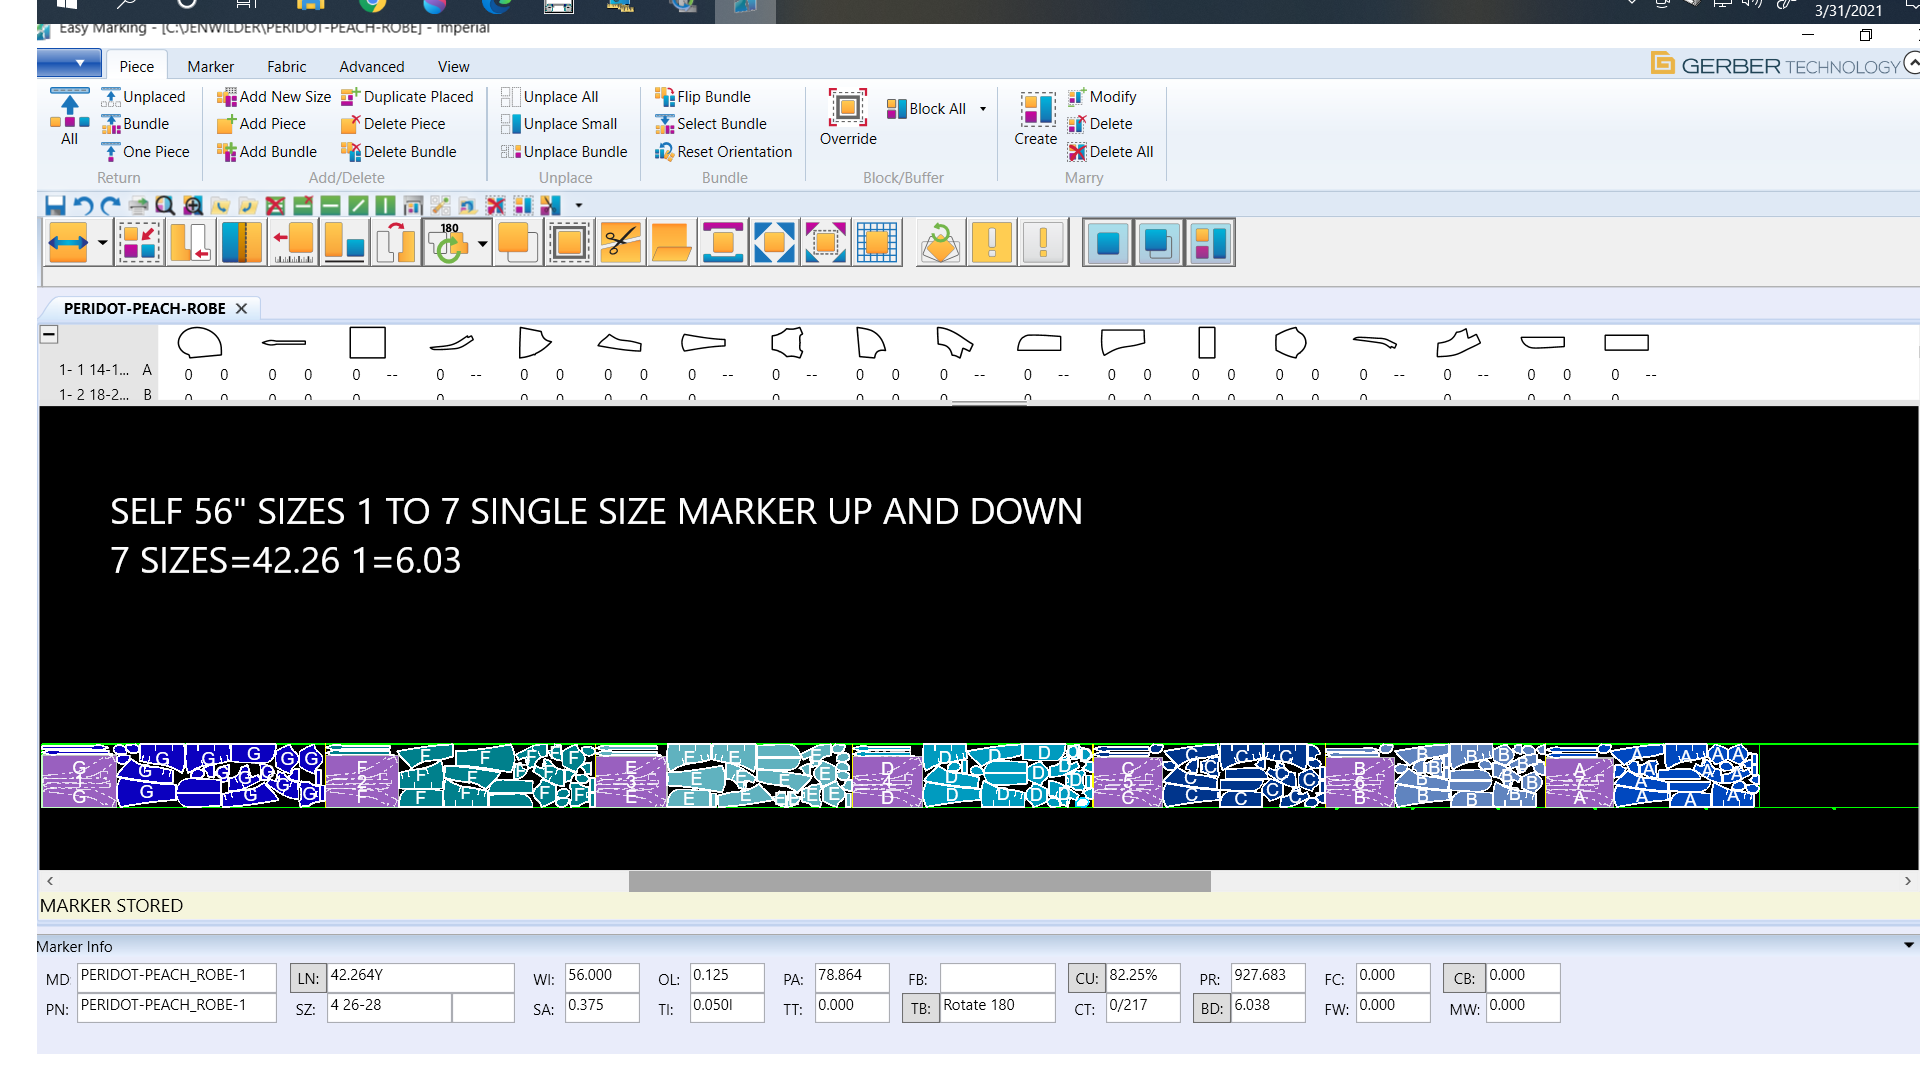
The image below is a marker for a robe I developed for a client.
Think of a garment marker as a puzzle. Each pattern piece has to fit within a certain size “frame”. That frame is the width of your fabric. The marker determines the most efficient way to cut your pieces, minimizing your waste of fabric. This reduces cost and time in the cutting process.
In the image above, each color represents a different size of the same style robe. Notice how the pieces are jigsawed together, using every inch of the fabric? This is called efficiency. Each graded garment marker will come with an efficiency rating, from 1-100%. A very good efficiency rate is 80-100%. A bad efficiency rate is below 60%. You want to be as efficient with your layout as possible.
Markers aren’t just about the efficiency of cutting fabric. They also test the grade of your pattern. When you cut out your garment marker, you will sew up every size to see if any of the grade points are out of whack.
Example: you have a 2” grade rule between sizes S-L, and 3” for XL-2Xl, and 4” grade between your 3XL-6XL. You cut your marker, and when you sew up your samples you notice that the 3 and 4XL sizes aren’t big enough across the body. Then you go back to your grading and your marker and measure them against the spec and realize that the grader used the 3” grade rule, instead of jumping up to the 4”. You now have to have your grader correct the grade rules and issue a new marker for testing.
How Does This Lead to Missing Fabrics?
Often when new designers are trying to produce their first few collections, they will purchase fabrics from jobbers or secondary marketplaces like the street vendors in LA or New York. This means that they can only purchase what is available to them at that moment. These fabrics are not reorderable and often are refuse from larger manufacturers who overbought.
This method of fabric purchasing is common and often results in designers having to purchase multiple colors or different fabrications for a single style so they can hit cutting minimums, also known as MOQs: minimum order quantities.
Algebra: the Math Behind the Clothes
Let’s say my client has a blouse she wants to produce. The MOQ is 100 pieces, which can be split between colors. Each blouse requires 2 yards of 60” fabric to make. Her original dream fabric was 60” wide.
She finds 2 new fabrics in colors she loves. The problem is that there are 2 widths: 45” and 60”. This means that the garment marker she made for her dream 60” fabric will not work for her 45” wide fabrics. The frame of the fabric is too narrow for her puzzle!
I have to have a second marker made at 45” wide to be efficient with her cutting. This not only changes the layout of her marker but increases the yardage she needs to purchase.
If both fabrics had been 60”, she would have only needed 200 yards for 100 blouses. Assuming she is doing a 50/50 split cut in the two colors of fabrics, she will need to purchase 120 yards for her 60” fabric, and 138 yards for her 45” fabric width.
If her 60” fabric is $8/yard, and her 45” fabric is $7.25/yard, she is spending a total of $1960.50 on fabrics.
If she had purchased 200 yards of the 60” wide fabric, she would have spent $1600.
This is a difference of $360.50! Imagine that multiplied by 5 styles. You will be spending almost $2000 more to have multiple widths of fabric!
For those of you who are visual, here is a table showing you exactly what she will be spending based on widths:
So, Now What?
Knowing your fabric widths is essential in the pre-production process and should be one of the first things you know about your product. Too many times in the development process, inexperienced designers will get all the way through the process up to size set samples without knowing their widths. This causes delays, added cost for the new markers, second spreading and cutting of markers.
Spreading fabric is the process of unrolling your fabric onto giant cutting tables and letting it rest so the fibers can go back to their normal dimensions after being pulled taught on the roll.
This takes time –time that a cutter cannot use those tables for other products– so if you are having to spread and cut two widths of fabric, they are going to charge you a premium. They want to spread and cut as quickly as possible, to make as much money as possible. Don’t be the noob who gets dinged for not being prepared!
Fabric sourcing can be so difficult if you have something very specific in mind. I always encourage my clients to be open to fabrics they hadn’t considered before. Not only does this make the process easier, but often they will find something they love even more than their original idea!
This also means you can offer multiple seasons of the garment in different fabrications, so you can always keep sourcing fabrics over time and doing a second or third release of the garment. Everyone loves to see their favorites come back in a new fabric! This is a great way to keep your assortment looking fresh, without having to develop a whole new product.
Puzzle Pieces Placed, Problem Solved
As you grow your brand, these kinds of details will become second nature. You will know the order in which you need to do things to make the process as smooth as possible. This process will get easier over time. You will make mistakes. It happens to everyone!
Hopefully, this helps you understand a bit more about the process, and how to prevent some common mistakes that can be costly. Get your fabrics locked in early, and many details will flow more smoothly after that. That garment marker will be easy to make once you know your fabric widths. Happy hunting for that dream fabric!


